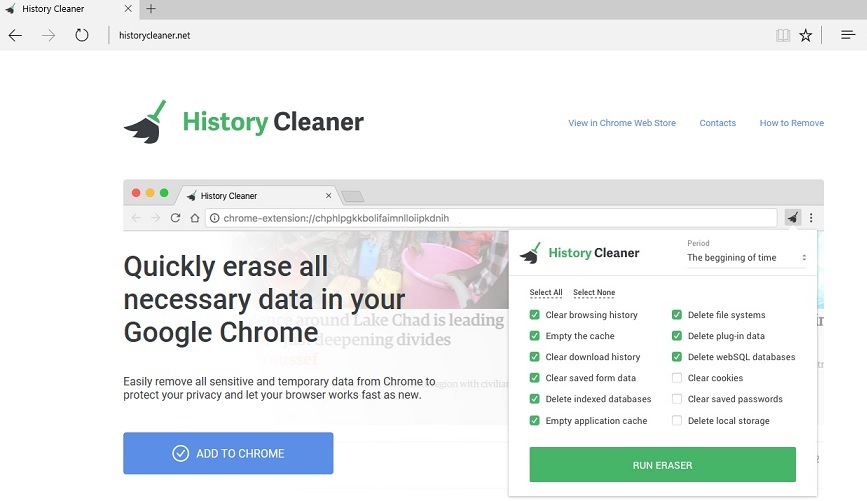
History Cleaner Removal Guide (Uninstall Extension History Cleaner Extension)
History Cleaner Extension is a doubtful browser plug-in that is unknowingly set up by users. You may get infected when you set up free programs in Default settings, and if it manages to contaminate your machine, it will add itself to your browser and alter its’ settings. It may reroute you to sponsored sites and will expose you to a lot of adverts. It earns income when it reroutes you, and you should not keep it.
It’s not believed to be an immediate machine peril, it might still bring about danger. These types of threats are capable of redirecting to compromised websites, and worst case scenario, you will end up with some type of malware malicious software infection if you were redirected to a unsafe portal. In order to shield your device, the correct course of action right now would be to eliminate History Cleaner Extension.
Download Removal Toolto remove History Cleaner Extension
How did the extension arrive in my device
Freeware is used to aid in dubious browser add-on distribution. Of course, you may also acquire them from browser stores or official sites as well. But usually, they are added as optional offers that, unless you deselect them, will set up automatically alongside. They don’t even need to get your explicit permission to set up since when you use Default mode, you fundamentally authorize them to install. You will need to choose Advanced or Custom settings in order to inspect for added offers. It’s easy to prevent setup if you notice adjoined items, and all you must do is unmark the offers. You might expose your PC to all sorts of undesirable programs when you are hasty during installation, so always pay attention. You’re suggested to remove History Cleaner Extension, as you probably did not even mean to set it up.
Why remove History Cleaner Extension
Nothing helpful will come from you allowing the extension to stay. The main reason these suspicious plug-ins are even created is to make page owners revenue by rerouting you. You will find that as soon as you permit the plug-in to set up, your browser’s settings will be changed and its promoted portal will web page to load instead of your normal homepage. Every time you open your browser whether (Internet Explorer, Mozilla Firefox or Google Chrome, you would be redirected to that portal. And modifications could be undoable unless you first uninstall History Cleaner Extension. Also, do not be shocked if you notice some strange toolbars and more adverts than normal. You will most commonly encounter these suspicious add-ons in Google Chrome but that does not mean other browsers are completely secure. We don’t encourage implementing the plug-in since it can expose you to content that’s not exactly safe. These add-ons aren’t regarded as malevolent themselves, some may be able to bring about more severe contaminations. You need terminate History Cleaner Extension if you wish to evade more trouble.
History Cleaner Extension termination
There are two probable methods to delete History Cleaner Extension, by hand and automatic, and you ought to opt for the one that suits your computer capabilities. Automatic History Cleaner Extension termination needs some anti-spyware tool, which will take care of everything. To successfully delete History Cleaner Extension manually, you would need to discover the plug-in yourself, which might take more time than first believed.
Learn how to remove History Cleaner Extension from your computer
- Step 1. How to delete History Cleaner Extension from Windows?
- Step 2. How to remove History Cleaner Extension from web browsers?
- Step 3. How to reset your web browsers?
Step 1. How to delete History Cleaner Extension from Windows?
a) Remove History Cleaner Extension related application from Windows XP
- Click on Start
- Select Control Panel

- Choose Add or remove programs

- Click on History Cleaner Extension related software

- Click Remove
b) Uninstall History Cleaner Extension related program from Windows 7 and Vista
- Open Start menu
- Click on Control Panel

- Go to Uninstall a program

- Select History Cleaner Extension related application
- Click Uninstall

c) Delete History Cleaner Extension related application from Windows 8
- Press Win+C to open Charm bar

- Select Settings and open Control Panel

- Choose Uninstall a program

- Select History Cleaner Extension related program
- Click Uninstall

d) Remove History Cleaner Extension from Mac OS X system
- Select Applications from the Go menu.

- In Application, you need to find all suspicious programs, including History Cleaner Extension. Right-click on them and select Move to Trash. You can also drag them to the Trash icon on your Dock.

Step 2. How to remove History Cleaner Extension from web browsers?
a) Erase History Cleaner Extension from Internet Explorer
- Open your browser and press Alt+X
- Click on Manage add-ons

- Select Toolbars and Extensions
- Delete unwanted extensions

- Go to Search Providers
- Erase History Cleaner Extension and choose a new engine

- Press Alt+x once again and click on Internet Options

- Change your home page on the General tab

- Click OK to save made changes
b) Eliminate History Cleaner Extension from Mozilla Firefox
- Open Mozilla and click on the menu
- Select Add-ons and move to Extensions

- Choose and remove unwanted extensions

- Click on the menu again and select Options

- On the General tab replace your home page

- Go to Search tab and eliminate History Cleaner Extension

- Select your new default search provider
c) Delete History Cleaner Extension from Google Chrome
- Launch Google Chrome and open the menu
- Choose More Tools and go to Extensions

- Terminate unwanted browser extensions

- Move to Settings (under Extensions)

- Click Set page in the On startup section

- Replace your home page
- Go to Search section and click Manage search engines

- Terminate History Cleaner Extension and choose a new provider
d) Remove History Cleaner Extension from Edge
- Launch Microsoft Edge and select More (the three dots at the top right corner of the screen).

- Settings → Choose what to clear (located under the Clear browsing data option)

- Select everything you want to get rid of and press Clear.

- Right-click on the Start button and select Task Manager.

- Find Microsoft Edge in the Processes tab.
- Right-click on it and select Go to details.

- Look for all Microsoft Edge related entries, right-click on them and select End Task.

Step 3. How to reset your web browsers?
a) Reset Internet Explorer
- Open your browser and click on the Gear icon
- Select Internet Options

- Move to Advanced tab and click Reset

- Enable Delete personal settings
- Click Reset

- Restart Internet Explorer
b) Reset Mozilla Firefox
- Launch Mozilla and open the menu
- Click on Help (the question mark)

- Choose Troubleshooting Information

- Click on the Refresh Firefox button

- Select Refresh Firefox
c) Reset Google Chrome
- Open Chrome and click on the menu

- Choose Settings and click Show advanced settings

- Click on Reset settings

- Select Reset
d) Reset Safari
- Launch Safari browser
- Click on Safari settings (top-right corner)
- Select Reset Safari...

- A dialog with pre-selected items will pop-up
- Make sure that all items you need to delete are selected

- Click on Reset
- Safari will restart automatically
* SpyHunter scanner, published on this site, is intended to be used only as a detection tool. More info on SpyHunter. To use the removal functionality, you will need to purchase the full version of SpyHunter. If you wish to uninstall SpyHunter, click here.